
Welcome to week 4! Congratulations on getting through all your cuts and block creations! Now we’re ready to lay out those blocks and get them sewn together for a finished quilt top!
It’s easy to get stuck here. You’re so close to the end, but there’s always a few more blocks to flip around. Here’s some tips to get you to the finish!
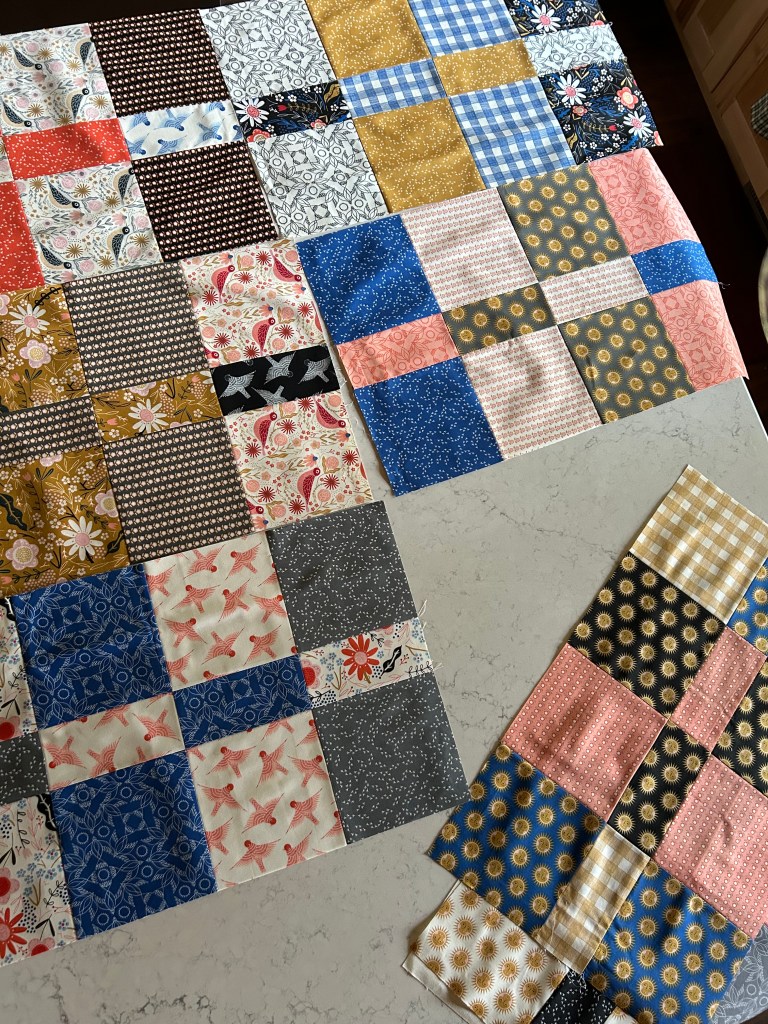
Take a picture. It’s amazing how we can see something in a photo but not in real life. The layout below looked good to me, but when I took the picture, I saw those clusters of big dots (sunshines) through the center were distracting.
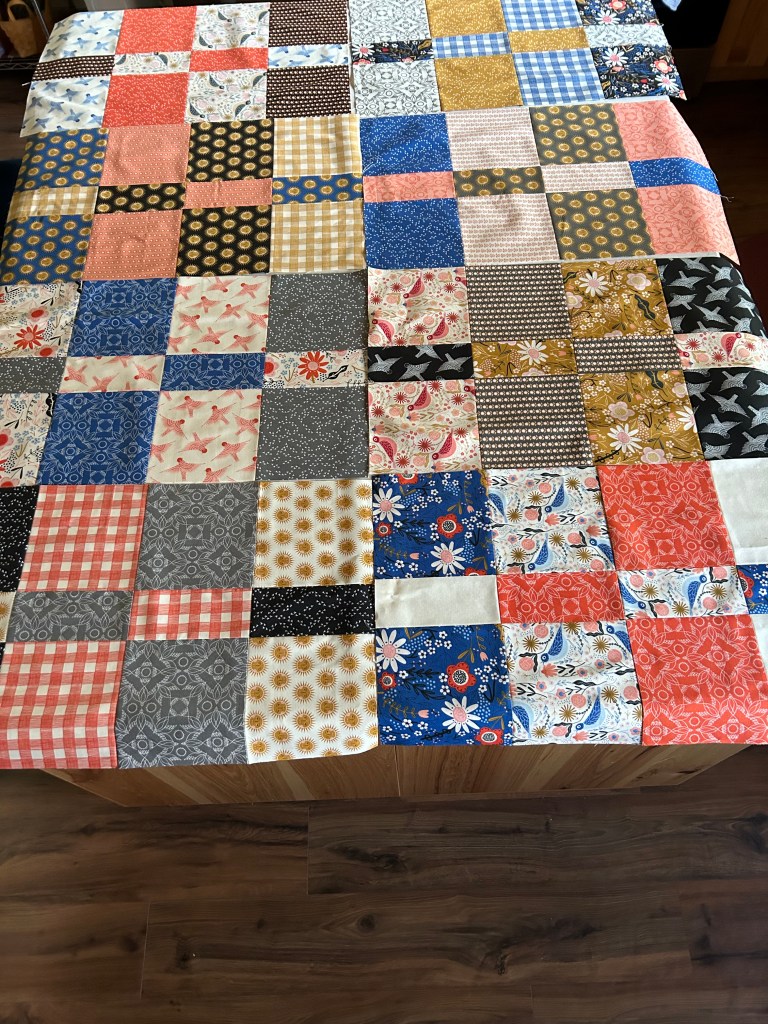
A photo also helps you check in to make sure you didn’t turn something around from where you laid our blocks to the walk to the sewing machine.
By flipping things around, the seams might not always nest in this pattern. When that happens, pin carefully on those joins to keep them lined up, and sew slowly of the hump of seams so they don’t squish out and get distorted. Otherwise, it’s easy sewing through well locked seams!
This pattern doesn’t have a border, so make sure to put in some locking stitches at the ends of your joins by reversing a couple stitches before the end of the seam. This will help them from popping open.
If you are storing the quilt top for a longer period of time or transporting them to get quilted, a stay-stitch around the perimeter helps keeps seams locked and fabrics square. A stay stitch is about 3/8 inch from the edge so that the stitch will be caught in the binding when it is attached.
And that’s it for week 4! I’ll have a bonus post in a few weeks showcasing your wonderful work! I can’t wait to see your quilt top!
Join the Bobbin Along with Brittany Facebook Group and share your progress in the group.
Use the hashtags #FatEighthFlipQuilt and #BobbinwithBrittanyQAL on instagram when you post and share your progress and follow @bobbinwithbrittany and @fatquartershop

Leave a comment