
Welcome to week 2! Looks like you’ve got you fabrics, so now it’s time for the next step in getting them all cut up for sewing. It’s already been a thrill to see all the fabric choices from week 1!

Fabric Prep Work
A fat eighth is large enough that you could pre-wash these precuts if you wish. If your fabric is soft and frays, starching will help lock in your fabric. Both washing and starching will shrink your fabric. They also help with contrasting colors bleeding into one another.
Whether pre-washing, or washing you final quilt, synthrapol is recommended for dyed fabric. People also use Color Catchers to catch any color bleed. Mine come out pink, blue and gray as they absorb those colors from the water.
My go-to starch is Faultless, gold can. For large starch jobs where you’re starching yards of fabric, Sta-Flo is a concentrated version. I’ve read various mixes with the most concentrated being a 50:50 mix of Sta-Flo and Water. Use as much as you are comfortable with. Mary Ellen’s Best Press is a premium starch that is well loved. I tend to save this for stubborn creases and seams.
Ironing is out last pre step wether you wash, starch, or are just diving in. If you used starch, make sure it is completely dry or else you will get some brown scorch marks on the fabric. The iron I recommend is the Oliso Pro Plus Iron. It gets HOT so be mindful of that if you are use to cranking your iron to the hottest setting.
No matter what kind of iron I’m using, I use a separate Continuous Spray misting bottle to steam the fabric.
Cutting
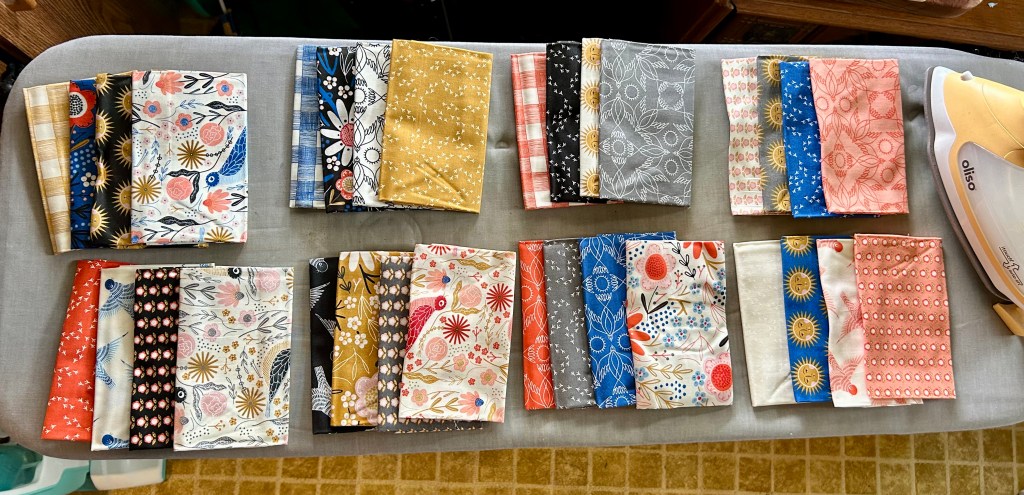
The block uses 4 fabrics, so I sorted my piles of fabric first for contrast and color balance. I got into a rhythm through the week to work on each cluster of starting, ironing, then cutting.
While 45mm rotary cutters are the most popular, my most used size is the 60mm rotary cutter. I feel I have more control in long straight cuts. I use to waver a lot with my cutting, which hasn’t been an issue since I got the larger size.
If you have difficulty with your ruler slipping around, a simple hand weight on the ruller will keep it in place. I use the 5 pound weight. This also helps if you are cutting multiple fabrics at once so they don’t shift away from the blade.
Again, there is extra fabric to allow for cutting straight on the print instead of straight against the salvage. I had some large, straight designs in the collection I picked, so I prioritized those separately and made my cuts, keeping in mind there would be a seam allowance if there were an element I didn’t want to awkwardly trim. Trying to avoid some headless birds here!
Pin or clip your clusters of fabric together and I’ll see you week 3 where we are sewing the blocks together! I’ll see you then and make sure to post a progress photo on instagram or in the Bobbin Along with Brittany Facebook group with the hashtags #fateighthflipquilt #BobbinwithBrittany

Leave a comment